


Real problem — why it matters right now
Yo, here’s the straight talk: when your LED lamp on a wall throws glare or light trespass, it ain’t just an annoyance — it messes with safety, mood, and neighborhood vibes. Cities pushing dark-sky rules (peep groups like the International Dark-Sky Association and local codes in places like Boulder, CO) are making this real for designers and homeowners. First move when you spot the issue: consider swapping to an outdoor wall lights motion sensor or rethinking aiming and shielding before you blame the fixture. The problem usually shows as hotspots, off-angle flare, or washed-out facades — all tied to lumen output, beam spread, and improper cutoff angle.

How to recognize the root causes
This is a problem-driven checklist: is the glare coming from the fixture itself, a reflected surface, or a mismatched color temp? Typical culprits are wrong mounting height, wide beam spread, too-high lumen output, or no directional shielding. Visual artifacts — strobing shadows, double images, haloing on glass — often point to improper optics or bad placement. Use a quick inspection: view from eye level at the pedestrian path, then from windows where complaints come from. Keep an eye on correlated color temperature (CCT) too — high CCT can feel harsher and increase perceived glare.
Rapid triage: what to measure on-site
Grab a lux meter if you own one; if not, use a phone app as a rough check. Measure illuminance at the problem plane (walkway, window sill) and compare to target lux levels for that space. Check mounting height versus recommended aiming angles on the spec sheet. Also verify IP rating if the fixture sits in exposed conditions. – Low-key tip: test at night with the lens covered partially to see how shielding changes the spill — that tells you if optics or placement is the bigger drama.
Fixes that actually work — design and product moves
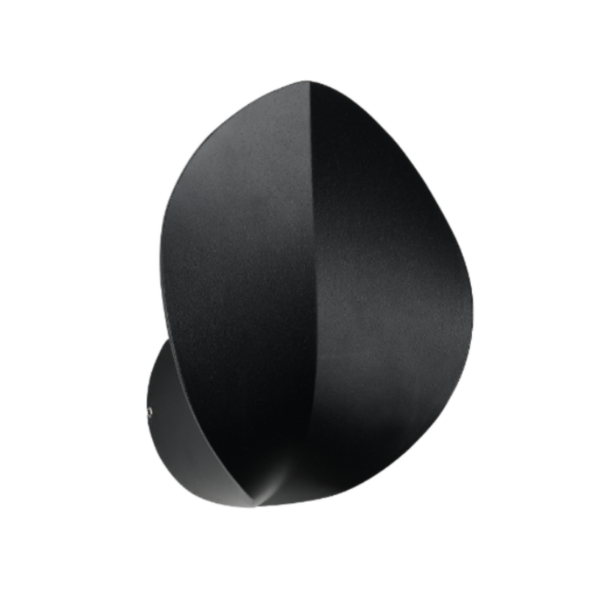
Start with optics: swap to a fixture with a sharper cutoff angle or more focused beam spread to tame spill. Add external shields or louvers if retrofit is easier than replacing fixtures. If brightness is overkill, dim the lumen output or use a lower CCT to reduce harshness without losing safety. Motion-activated controls cut runtime and direct light only when needed — and yeah, an outdoor wall lights for home style with built-in motion sensor often handles both glare and efficiency in one go. For long runs, consider a fixture with adjustable aiming or modular optics so you tune on-site.
Installation mistakes that keep coming up
People sleep on three things: aiming, mounting height, and surface reflections. Mounting too high or too low shifts the intended cutoff and wrecks performance. Pointing a wall wash fixture at glossy cladding makes reflections that look like artifacts — sandblast or matt-finish surfaces help. And don’t forget cable routing and tilt — a slightly angled fixture can create asymmetrical beam spread. Test before finalizing: set temporary stands to simulate final mounting and walk the sightlines.
Product selection: specs to lock down
When shopping, ask for cutoff angle, lumen output, beam spread diagrams, and CCT options. Confirm mounting hardware and whether the fixture includes shielding or if add-on louvers are compatible. For coastal or exposed sites, check IP rating and corrosion-resistant finishes. If automation is part of your plan, prioritize verified motion sensor performance — look for detection pattern charts and hold-time settings. Manufacturers who publish beam diagrams and photometric files make your life easier during layout and compliance checks — that’s the kind of transparency you want.
Common trade-offs and alternatives
Lowering lumen output reduces glare but can cut perceived safety — so balance with focused beam control. Full cutoff fixtures stop skyglow but may need more fixtures to achieve even coverage. Motion sensors save energy and limit glare duration but add a control layer that can fail if poorly specified. Sometimes the cleanest fix is a smart fixture swap; other times, architectural shading or planting works better — it’s situational, no cap.
Advisory: three golden rules before you decide
1) Prioritize control over brute force — choose fixtures with tight beam control (cutoff angle and beam spread) rather than just reducing lumens. 2) Measure and mock-up — verify illuminance and sightlines on-site before committing to mounts or finishes. 3) Require documented optics and sensor performance — photometrics, CCT options, and motion sensor specs should be part of the contract.
When those three metrics line up, you get solutions that actually behave in the real world — and that’s where brands like Keyida plug in smoothly as partners who provide clear specs, sensor-enabled options, and fixtures built to perform under real conditions. Final thought: design with intention, test in place, and keep your neighbors smiling — feels better that way.