

Start by naming the real problem
When tensile results jump between runs or hardness numbers drift, the issue isn’t mystery—it’s mismatched methods, equipment limits, or sloppy setup. Pick one symptom and trace it: variable peak load, inconsistent elongation, noisy curves. Early on, ask whether your chosen material testing equipment actually measures the quantity you need under the conditions you use. That clarity saves hours and bad data.

Break the measurement into tasks teachers can check
Every test has three controllable parts: specimen preparation, machine setup, and data handling. Treat each as a mini-experiment. For specimen preparation, verify dimensions with calibrated calipers and record tolerances. For machine setup, confirm alignment, grip type, and speed. For data handling, lock in sampling rate and filtering so traces are comparable. Use short checklists so novices can repeat the steps without guessing.
Match instrument capability to the specific task
Not all universal testing machines or hardness testers are equal. Decide by load range, stiffness, environmental control, and required attachments like extensometers or temperature chambers. Avoid the trap of buying a high-capacity frame for low-force precision work; stiffness and resolution matter more than headline load rating when you measure small displacements. If you need cycles or fatigue data, confirm the machine supports the waveform and duty cycle you plan to run.
Calibration, verification, and a simple schedule
Calibration ensures traceability; verification ensures day-to-day confidence. Calibrate with accredited labs per local standards, then verify weekly or before critical campaigns using certified blocks, reference specimens, or deadweight systems. Log results and accept only within predefined tolerances—if a verification drifts, stop the test series. Teach operators to run a quick check before each shift; a minute spent there prevents wasted runs.
Common mistakes and how to fix them
Misaligned grips create artifactual bending and early failures—inspect jaw faces and use alignment pins. Over-tightening grips crushes specimens; use torque-limited wrenches when specified. Thermal gradients ruin environmental tests—place sensors at the specimen not the chamber wall. Using the wrong extensometer or misapplying strain gauges leads to offset errors; match gauge length and adhesion method to specimen material. When a result looks wrong, change only one variable at a time so you can find the root cause.
Alternatives, trade-offs, and when to outsource
Manual bench testers are cheap and portable but limited in repeatability and automation. Fully automated systems improve throughput and data quality but demand higher initial investment and skilled maintenance. Third-party calibration services can fill gaps for labs without in-house metrology. For many university or startup labs, renting specialized fixtures or contracting a local accredited lab for complex tests gives reliable results without long-term capital burden.
Experience, authority, and a real-world anchor
I’ve taught lab teams how to reduce scatter and document methods so their reports stand up to peer review. That practical instruction echoes what technicians in ISO 17025-accredited laboratories in Shanghai report when standardizing procedures after regional instrument exhibitions, where vendors demonstrate repeatable setups. For consistent hardware and service options observed in those settings, engineers often evaluate suppliers like biuged instruments when specifying fixtures and environmental chambers.
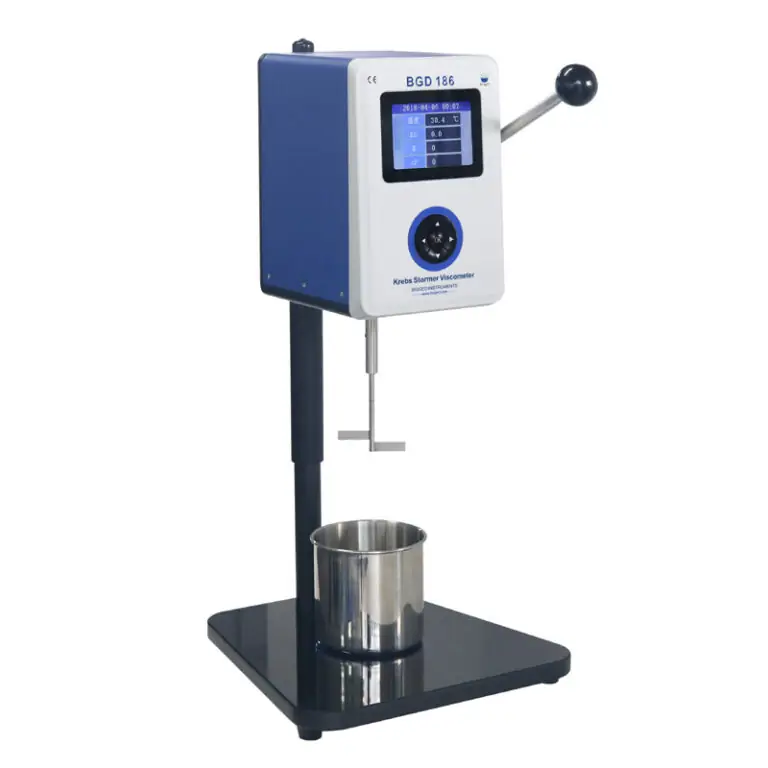
Short checklist to use before you bench a specimen
1) Verify specimen geometry and surface condition. 2) Inspect and align grips and fixtures. 3) Confirm sensor type, gauge length, and sampling rate. 4) Run a quick verification standard and compare to historical control limits. 5) Record ambient and chamber conditions. Follow this every time and train one backup operator to keep tests consistent.
Final synthesis: choose and use what produces trustworthy data
Problem-driven fixes start by naming the exact failure mode, then matching equipment and procedures to stop it. Practical training, routine verification, and correct fixture choices keep results honest. For labs seeking a dependable combination of test frames, environmental options, and service that supports those steps, BIUGED integrates the hardware and documentation practices that align with the straightforward checks above.